A machined or printed prototype can confirm shape, assembly, or basic function, but it cannot reproduce every condition created by injection molding. Once molten polymer enters a mold, draft, gate position, wall transitions, cooling, shrinkage, venting, and ejection all influence the finished part.
This molding route becomes valuable when those manufacturing teams want to observe how the part performs under real molding conditions.
APT-Mold provides rapid tooling for prototyping, functional testing, trial production, and low-volume manufacturing. The strongest reason to use custom rapid tooling is not simply that a mold can be made quickly. It is that molded parts reveal process-related information before a long-life production tool is finalized.
Why Real Molding Reveals Different Design Risks
CNC machining and 3D printing are useful early in development because they can produce parts without an injection mold. Their limitation is that the prototype may behave differently from a molded component. A machined wall, for example, does not experience filling and cooling in the same way as an injection-molded wall.
Prototype injection molding brings the part into a process closer to its intended production route. Engineers can observe whether thin and thick sections fill consistently, whether draft is sufficient for release, whether deep features complicate ejection, and whether gate or parting-line locations create unwanted effects.
That evidence is especially useful when the design appears complete in CAD but still contains uncertainty around moldability. The purpose is not to prove that every later production condition has already been solved. It is to identify molding-related risks while changes to geometry or tooling are still manageable.
When Does Custom Rapid Tooling Make Sense for Prototype Injection Molding?
This tooling approach is most appropriate when the remaining development questions cannot be answered well by a non-molding process. Typical examples include:
- checking how a selected polymer fills a particular geometry;
- reviewing shrinkage, warpage, or dimensional response;
- evaluating gate, vent, parting-line, and ejection decisions;
- producing several molded parts for assembly or functional tests;
- running a limited pre-series batch before production tooling is ready.
If the objective is merely to review overall appearance or basic fit, another prototyping method may be faster and more economical. This distinction matters because rapid tooling is not automatically the best route for every prototype. Its value rises when the test depends on the interaction between part design, mold design, material, and processing.
Expected quantity matters too. Development tooling needs enough durability for the planned trials, but it does not necessarily require the service life or construction of a high-volume production mold.
Use Trial Parts to Separate Part, Tool, and Process Issues
The first molded parts should be treated as engineering evidence rather than final proof of production readiness. Dimensional inspection can show whether critical features form as intended, while assembly testing reveals whether bosses, clips, holes, seals, and mating surfaces work with surrounding components.
Surface condition may expose another category of issues. Witness marks, sink, incomplete filling, visible flow effects, or ejection marks can point toward geometry, tooling, or process settings. The useful next step is to identify the likely source before changing the mold or part.
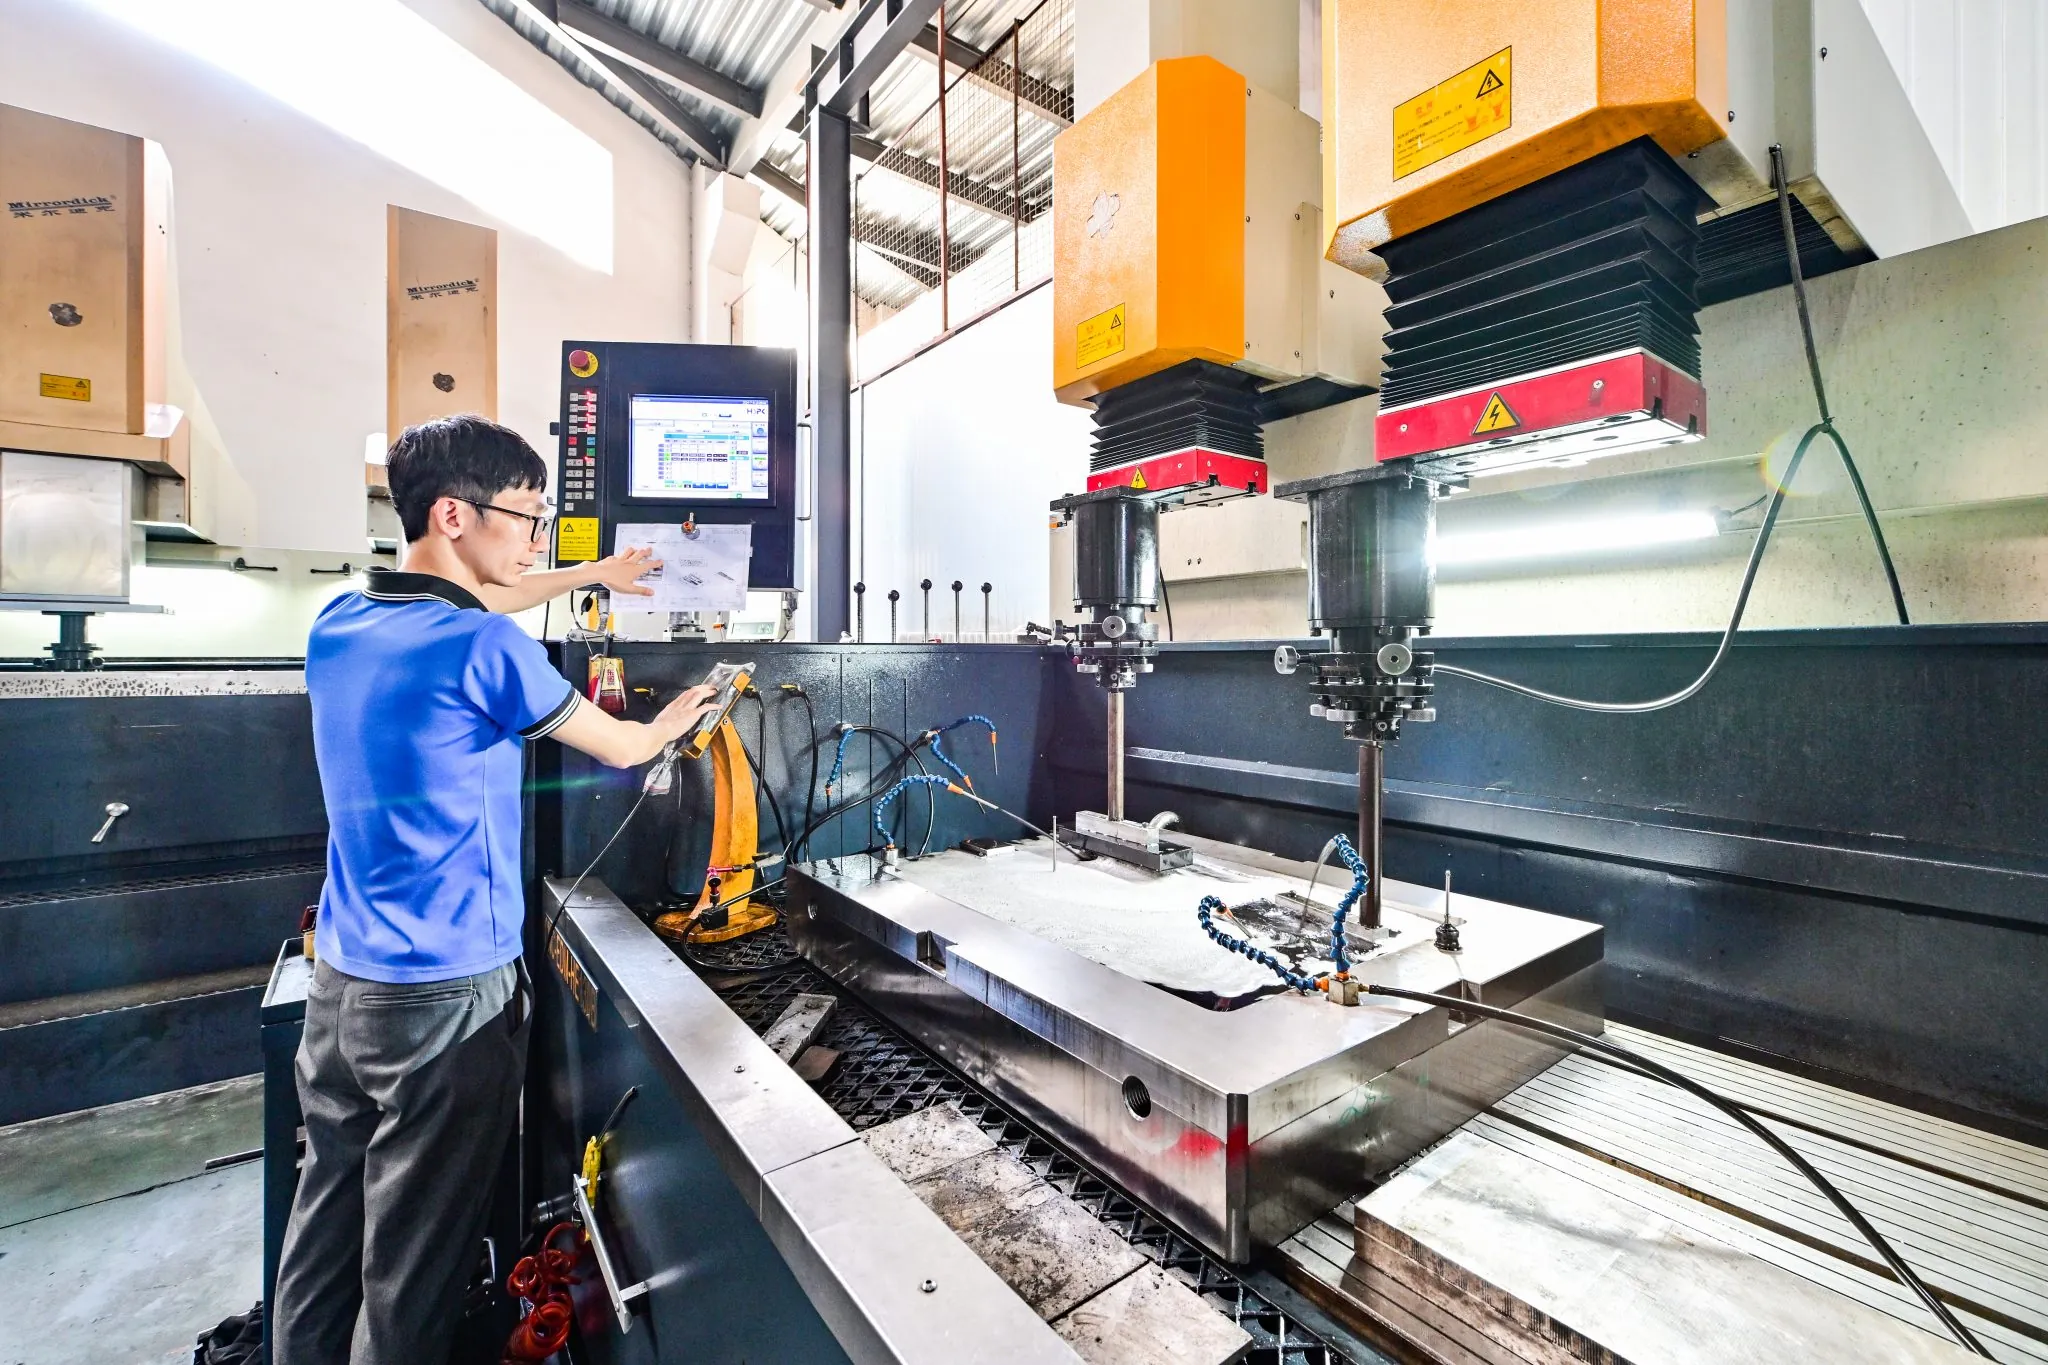
APT-Mold describes a rapid-tooling workflow that includes DFM analysis, mold design, CNC or EDM machining, mold assembly, trial molding, inspection, and report delivery. That sequence supports an iterative approach: mold, inspect, diagnose, revise where necessary, and test again.
P20 is also listed as a material commonly used for its rapid tools, although tooling material still needs to match resin, quantity, geometry, and expected life.
Plan the Transition Beyond the Prototype Mold
A prototype molding trial reduces uncertainty, but a successful result does not remove the need for production planning. A development mold may differ from a future production tool in material, cooling layout, cavity count, automation, expected life, or maintenance strategy.
Those differences should be documented before the project moves forward. Critical dimensions, material specifications, surface requirements, inspection points, and process-sensitive features need clear ownership so later tooling decisions do not erase what was learned during testing.
A custom rapid tooling project is therefore most useful when it is connected to a defined validation plan rather than treated as a shortcut to mass production.
APT-Mold publishes a general rapid-tooling development cycle of about 5–10 days, but actual timing still depends on mold complexity, material, quantity, and validation requirements. Speed has value only when the resulting parts answer the intended engineering questions.
Conclusion
Rapid tooling is well suited to prototype injection molding when the project needs evidence about moldability, material response, ejection, dimensions, assembly, or surface condition.
It provides a practical way to study the part and molding process together before committing to long-life production tooling. The approach works best when validation goals, batch size, tool life, and the later production route are defined in advance. Used that way, each trial produces information that can guide the next design or tooling decision.
